10 May 2017
Chef How To Use Cookbook(3)
Purpose
Now we have chef12 server/workstation/a client node setup, also we have the cookbook management, now is key point, how to use and write cookbook.
In this article I will use chef12 + knife to install java 8 in my aws client node.
Find The Cookbook
Lots of engineers have contributed to the chef, you can find most of them in chef supermarket.Chef Supermartet
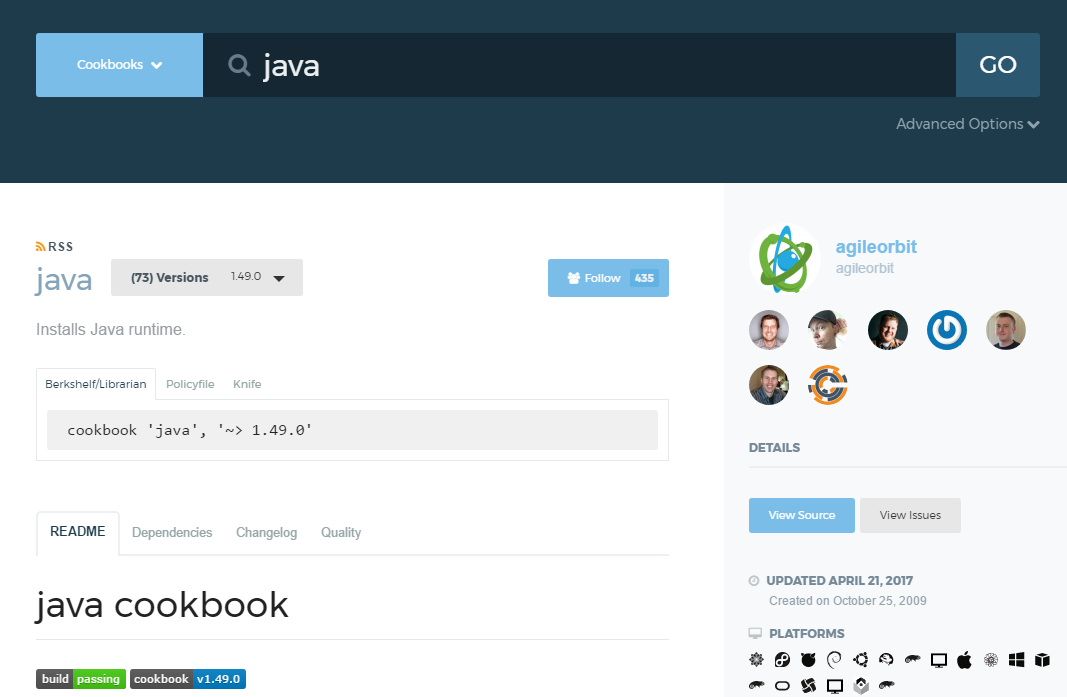
What we need to do is go to chef supermarket, search the “java”, then you can find this java cookbook:

They may have other java cookbook too, choose one you like.
Install The Cookbook
There are three tools for installation, Berkshelf/Policyfile/Knife. I will use knife here.
Login in your chef workstation, run below:
# install the java cookbook
cd ~/chef-repo
knife cookbook site install java
# knife will generate cookbook in ~/chef-repo/cookbooks/java
Sync The Cookbook
For client node to install the java, we need to upload java cookbook to chef-server first
cd ~/chef-repo
knife cookbook upload java
Now go to your chef server web, Chef Server. You can find the uploaded java cookbook in Policy -> Cookbooks tab
Assign The Cookbook To Client
Now the java cookbook is in chef-server now, we need to assgin the cookbook to client node to let client aware of it.
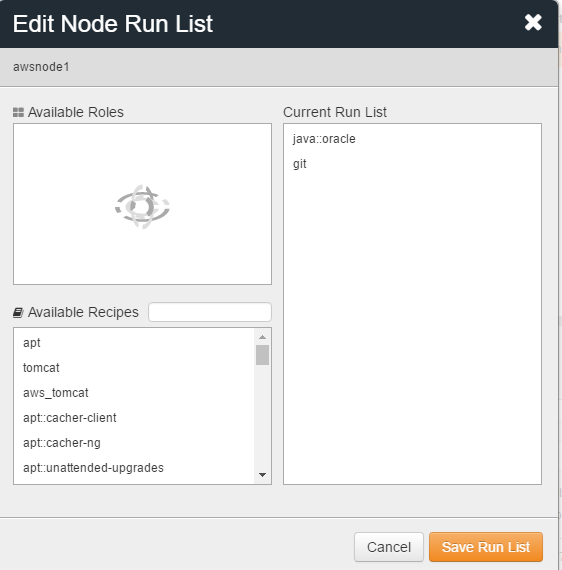
In Nodes -> choose your client node -> Actions -> Edit Run List -> add java to run List

Here we will use the oracle version java, save the changes.
Run The Cookbook In Client
Now everything ready, let’s run the cookbook. Login into our AWS client node.
# run chef-client to run all the cookbook in run list
sudo chef-client
The client will install the java in the client server, let’s check
java -version
#java version "1.6.0_131"
#Java(TM) SE Runtime Environment (build 1.6.0_131-b11)
#Java HotSpot(TM) 64-Bit Server VM (build 25.131-b11, mixed mode)
Wait a moment, I want java 1.8 instead of java 1.6, what I should do.
Config Cookbook
According to chef supermarket - java, the default java version is 1.6, to change it to 1.8, we can then override the attributes in a cookbook, role, or environment.
- Edit attributes
We can add a attributes in ~/chef-repo/cookbooks/java/attributes, override parameter
# java 7 example default['java']['jdk_version'] = '7' default['java']['install_flavor'] = 'oracle' default['java']['jdk']['7']['x86_64']['url'] = 'http://artifactory.example.com/artifacts/jdk-7u65-linux-x64.tar.gz' default['java']['jdk']['7']['x86_64']['checksum'] = 'The SHA-256 checksum of the JDK archive' default['java']['oracle']['accept_oracle_download_terms'] = true - Edit environment I use the environment way, which will not break the existing cookbook and don’t need to create addition cookbook to wrap original cookbook.
Go to chef-server web UI,
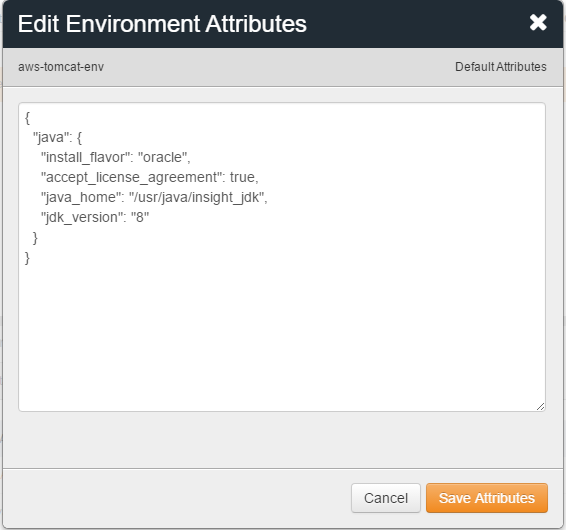
- go to Policy -> Environments, create “aws-tomcat-env” new environment
- Edit default Attributes, add below json
{
  "java": {
 "install_flavor": "oracle",
 "accept_license_agreement": true,
 "java_home": "/usr/java/insight_jdk",
 "jdk_version": "8"
  }
}
-
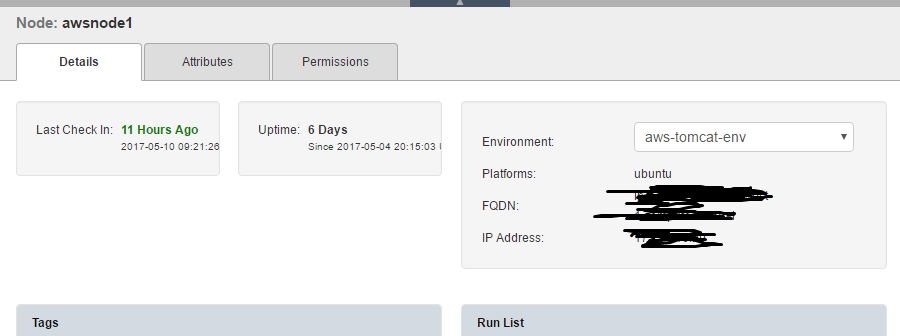
go to Nodes -> choose your node -> assign the “aws-tomcat-env” environment to client node

- Now login your client node, run sudo chef-client again
root@xxxxxx# java -version
# display the java version
java version "1.8.0_131"
Java(TM) SE Runtime Environment (build 1.8.0_131-b11)
Java HotSpot(TM) 64-Bit Server VM (build 25.131-b11, mixed mode)
Now the java 1.8 successfully installed in your AWS node
Til next time,
at 00:00


